December 15, 2015
DIY: Holiday Greenery Gift Wrapping
Calling all of our DIY friends! With only 10 days until Christmas, wrapping up your Christmas shopping is crucial. Need a little help with your holiday gift wrapping? We have put together an 8-step gift wrapping instructions with simple greenery that can be found at your local florist. Try shopping at Home Goods, Michael’s or your nearby gift store for pretty ribbon and tags… simple as that! Happy Holiday wrapping!
Step 1:
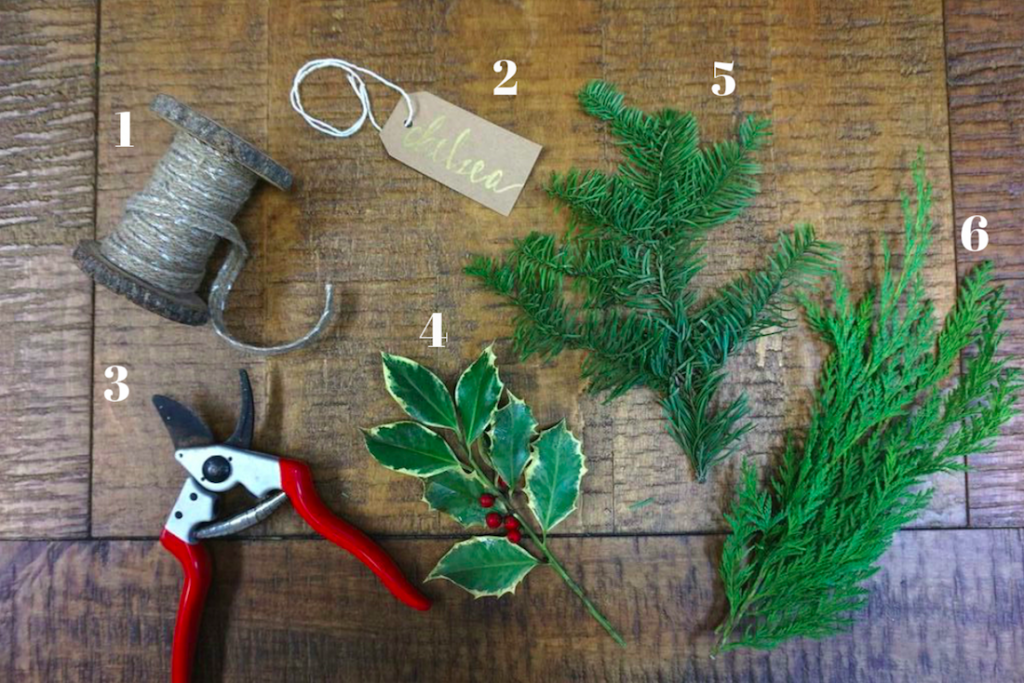 1. Decorative Ribbon | 2. Kraft paper tag w/ thin yarn | 3. clippers | 4. Piece of holly | 5. Piece of noble fir | 6. Piece of cedar
Step 2:
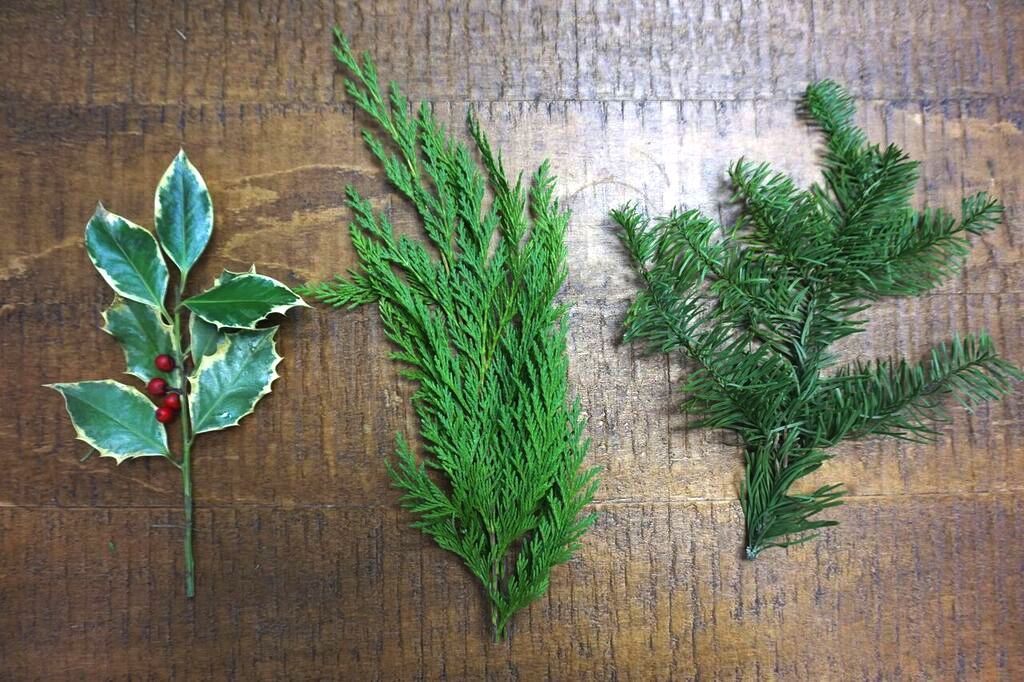
Start with your three pieces of greenery – holly, cedar, and noble fir. Make sure to give your greenery a spritz of water to keep them fresh and fragrant.
Step 3:
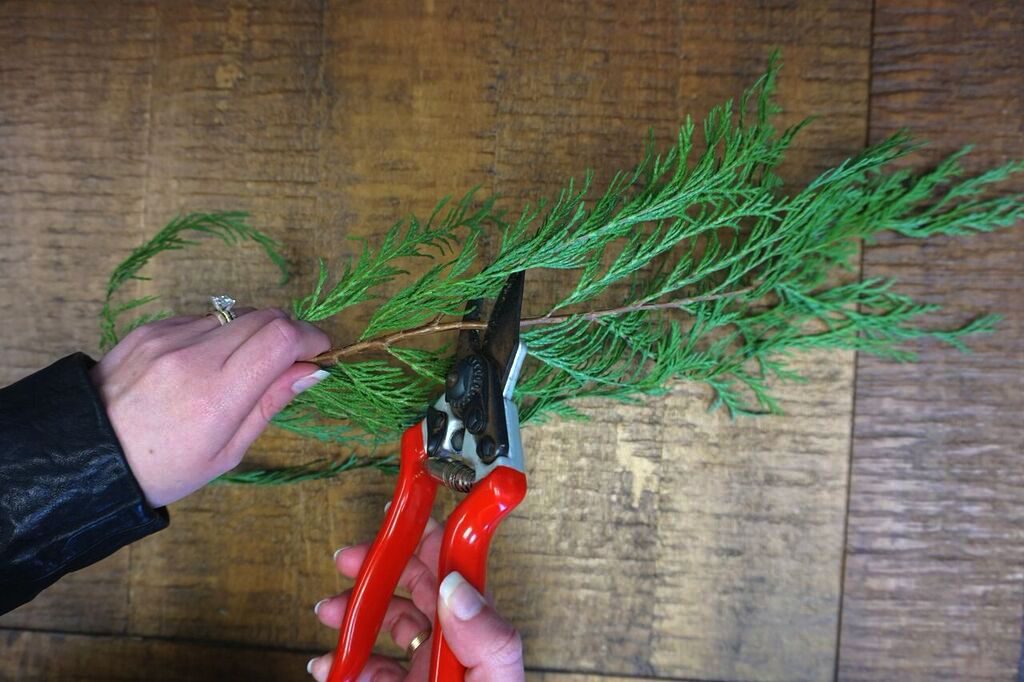
Using your clippers, cut each piece of greenery at an angle. Cut about a 9-10 inch piece, giving yourself enough to work with.
Step 4:
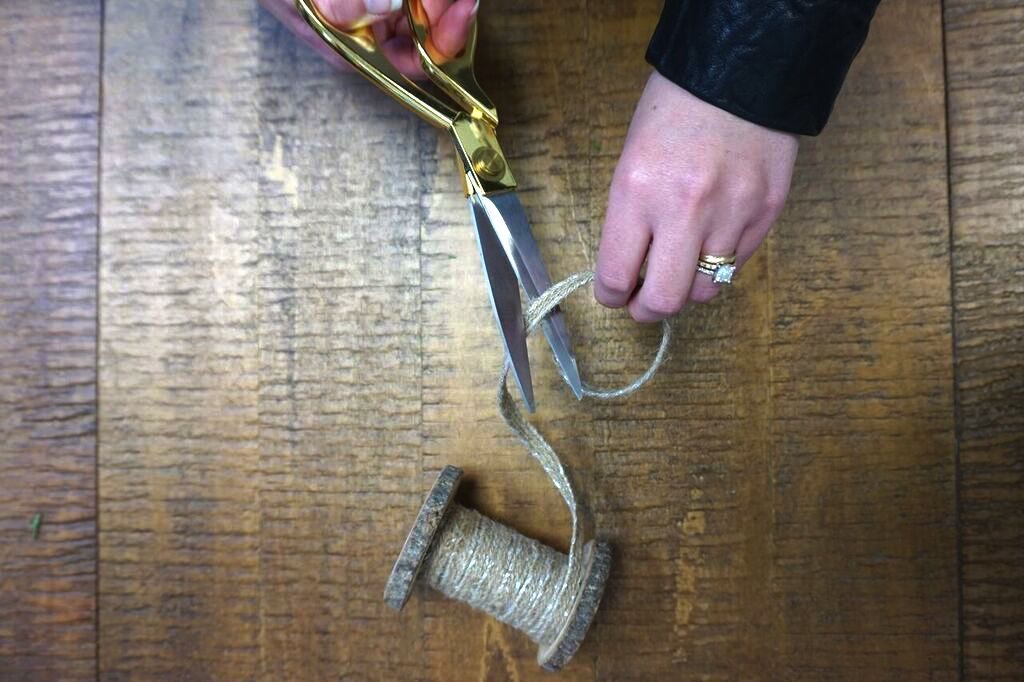
With a pair of scissors, cut a 5-6 inch piece of decorative ribbon.
Step 5:
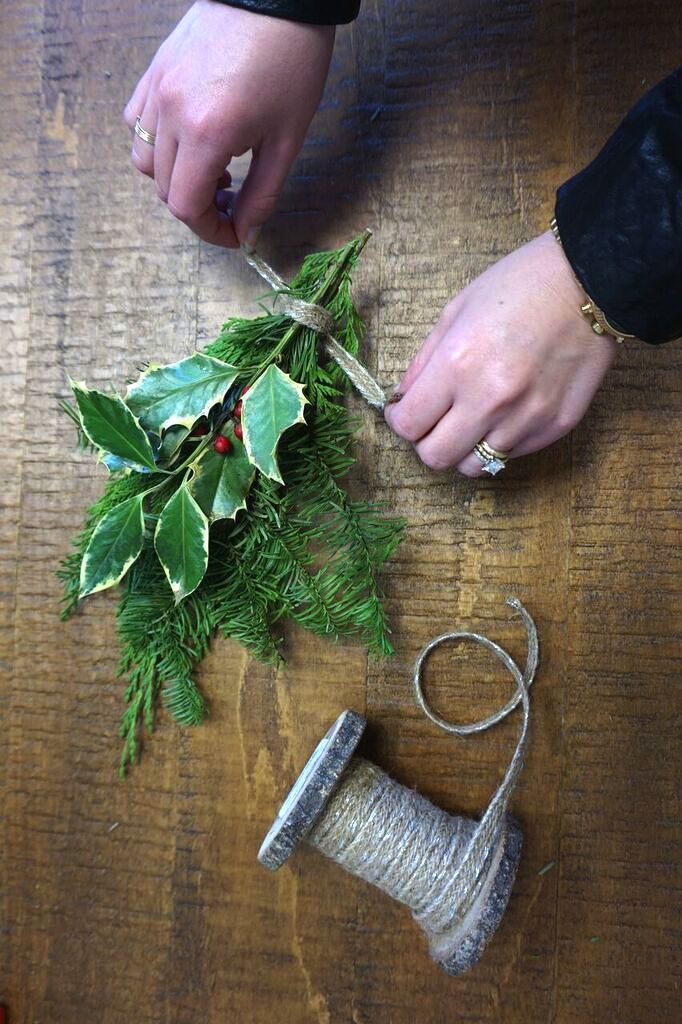
In this order, layer each piece of greenery – Cedar at the bottom, noble fir in the middle, and top it off with the holly. Adjust the greenery making the pieces visible and fuller.
Step 6:
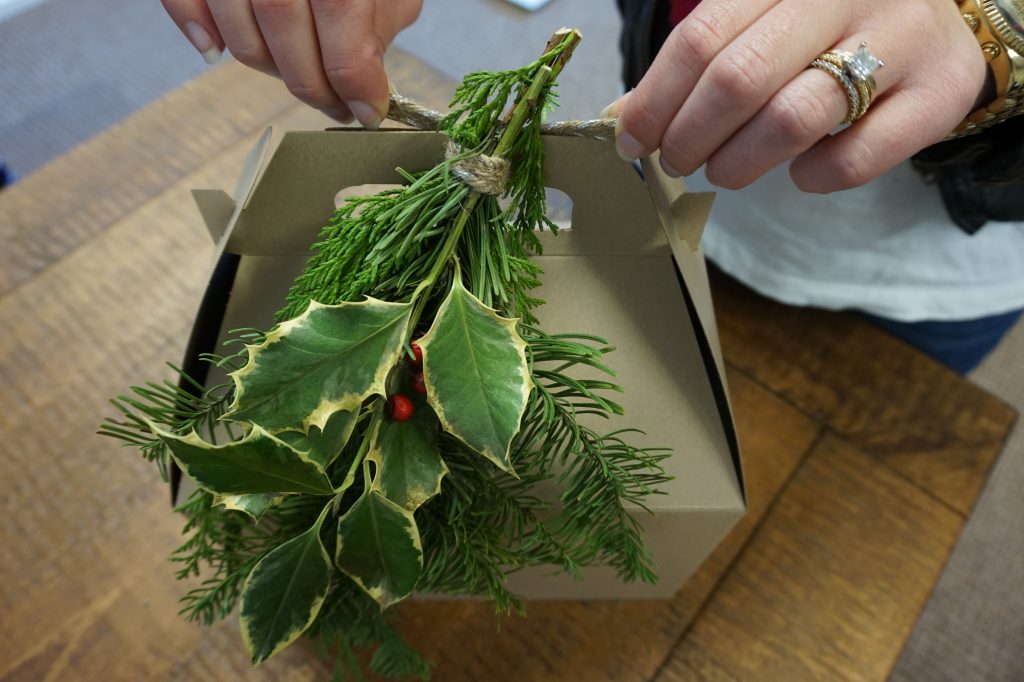
With your decorative ribbon, tie the pieces together making a knot in the back. Create a knot on to the gift box and secure it well.
Step 7:
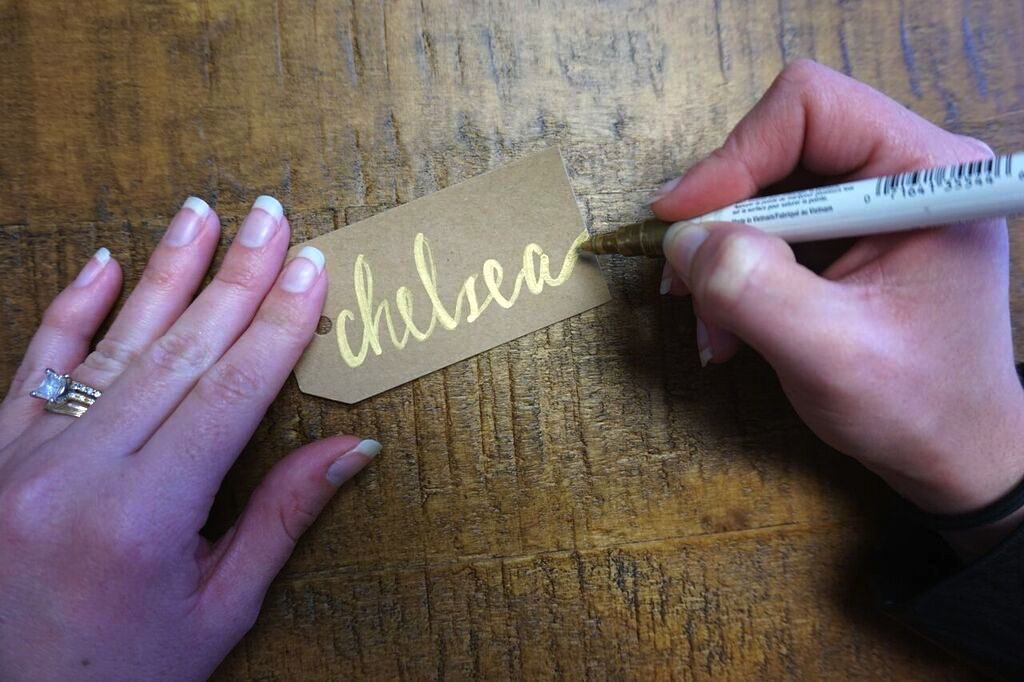
Next, with a metallic gold sharpie pen, write each guest’s name. Simple tip: look up “calligraphy fonts” or “calligraphy alphabet” into Pinterest for font inspiration. A white or black sharpie works great too!
Step 8:
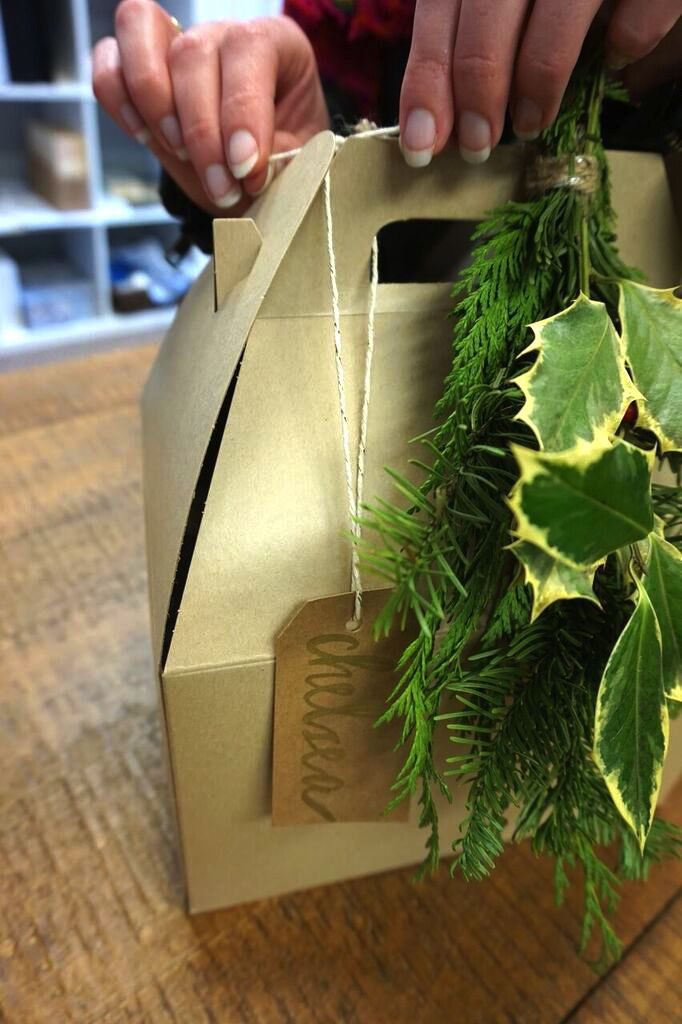
Tie on the tag, laying it at about the same length as the greenery, and create a knot or bow in the back of the gift box.
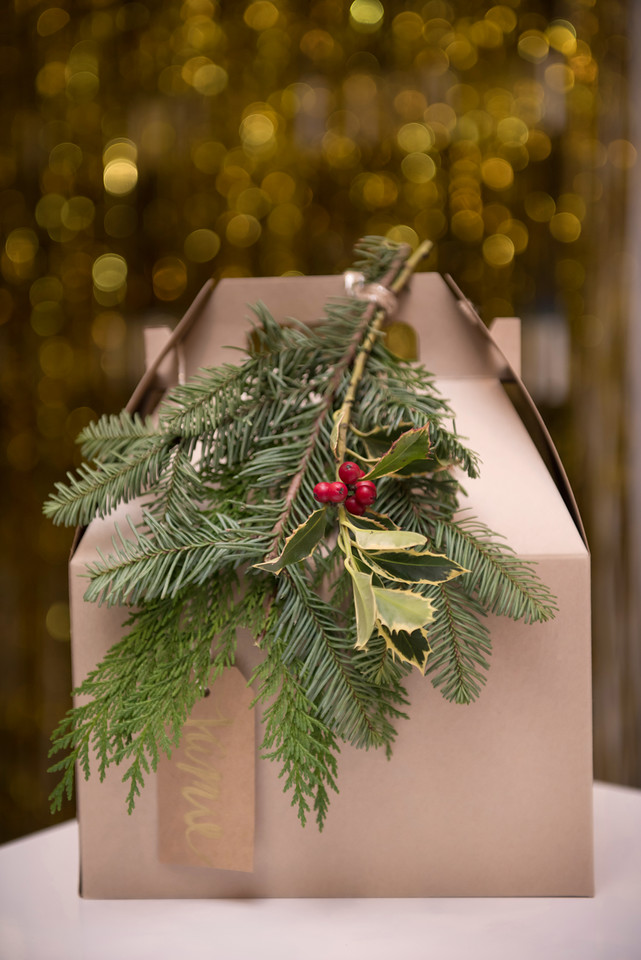
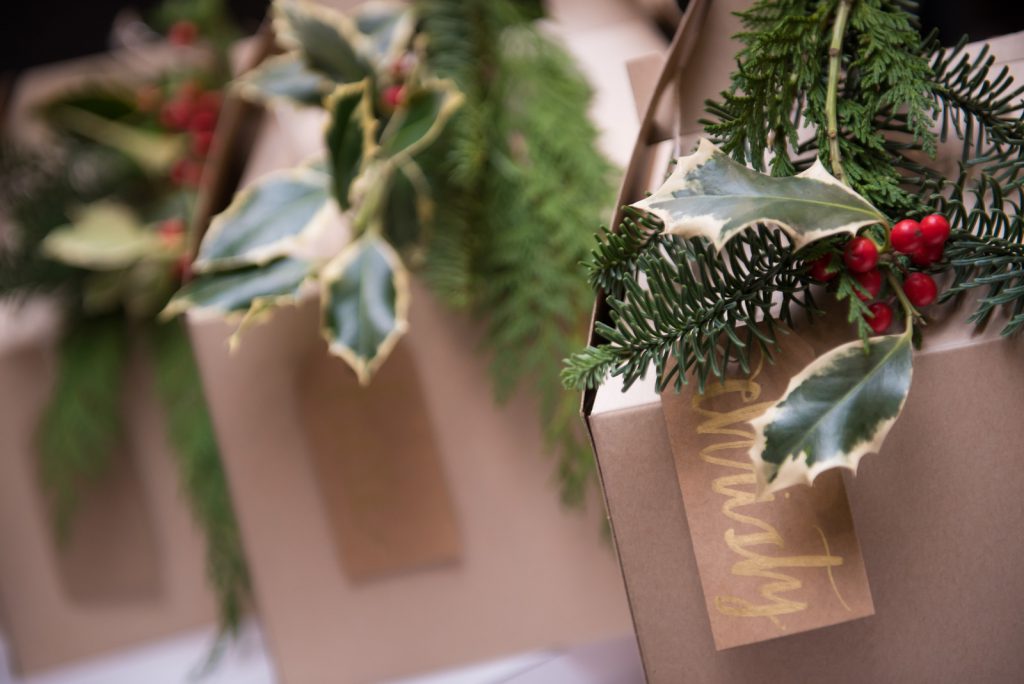
Voilá! Your simple and seasonal gift wrapping is complete!


Leave a Reply
You must be logged in to post a comment.